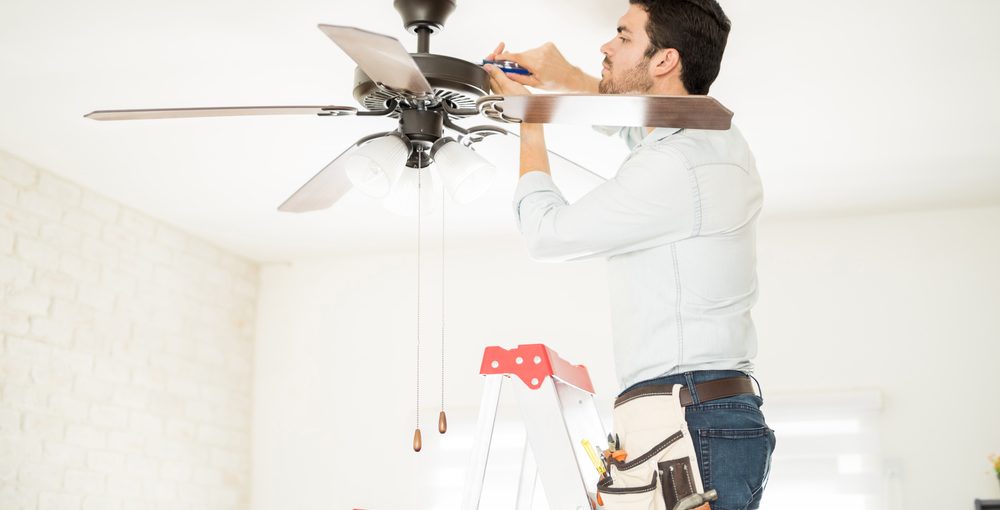
Install Your Own Ceiling Fan
Should your residence appear overly warm during the summer months and unwelcomingly cold in the winter, consider the benefits of installing a ceiling fan. Inside a home, cool air has a tendency to remain stagnant, while hot air naturally ascends to the ceiling, staying out of your reach. By integrating a ceiling fan, you can effectively redistribute warm air from the ceiling back into the living space during winter, and in summer, it can aid in dispersing the cool air throughout the room.
It’s not very difficult to install one, either. You just need to make sure that your fan is solidly fixed to a ceiling joint or to a fan bracket in the ceiling, and that your wiring is connected properly.
Review Your Fan’s Instructions
When you open the box your new ceiling fan came in, you will find that it requires some assembly. Spread out everything on a blanket or other cloth on the floor to keep components from getting damaged. Consult the instructions that come with the fan. You may need to perform some assembly of the fan motor before you begin to hang the fan. If you have bought a chandelier-style ceiling fan, then this will include pulling the wires from the motor assembly through the downrod and attaching the downrod to the fan motor.
Turn Off Power at the Fuse Box
Before you begin working on your home’s electrical wiring, you need to turn off power to the circuit you’ll be working on. Go to the fuse box and cut power to the circuit in the room where you’ll be hanging your fan. Use a circuit tester to make sure the circuit is turned off. You should also use a circuit tester while you’re hanging the fan, to test that the wires aren’t live before you start fiddling with them.
Create a Solid Fixing Point for the Fan
Ceiling fans are heavy, and you need to make sure yours is solidly fixed to the joists in your ceiling. Otherwise, it could fall off the ceiling and harm someone, become damaged, or damage your floors and furniture.
If there is a ceiling joist directly above the ceiling rose where you’ll be hanging the fan, then you can attach the fan directly to that joist and you don’t need to do anything else to create a solid fixing point. If your ceiling rose is installed between joists, you may need to install an expanding metal fan bracket in your ceiling to create a solid fixing point for your fan. However, if you have access to the ceiling joists from above, you can install a length of two-by-four lumber between the joists, anchoring them into the joist with screws. You can then fix your ceiling fan to this piece of lumber. If you have a plastic electrical junction box in your ceiling, you need to make sure to replace it with a metal one that is rated for use with fans.
Install the Mounting Plate
Your fan should come with a sturdy mounting plate. Attach it to the ceiling rose using the screws provided. You should be able to hang the fan motor assembly from the mounting plate while you complete the wiring connections.
Wire the Connections
Take a look at a ceiling rose wiring diagramme to make sure you are wiring the connections properly.You will need to attach the live cable (which is brown or, if your system still uses the old wiring colours, red) to the live terminal on the left side of your ceiling rose. Attach the neutral wire (which is blue or, if your system still uses the old wiring colours, black) to the neutral terminal on the other side of the ceiling rose. Connect the green-and-yellow protective earthing cable to the earth terminal, which is usually located next to the hole where the wiring comes down to the ceiling. Make sure the earthing cable coming out of the ceiling is also connected to the earth terminal in the ceiling rose. Connect the wires by twisting the bare ends together and securing them with wire nuts.
Once you have connected your fan wiring, you can finish attaching the fan downrod and canopy to the mounting plate.
Put on the Fan Blades and Light Fixture
If your fan blades have blade brackets, you should attach them to the blades before you attempt to attach the blades to the fan motor. Attach all of the blades using the screws provided. Connect the wiring for your fan’s light fixture the same way that you connected the wiring for the fan motor. Attach the bulb covers and put in new light bulbs. Now you can turn the power back on and enjoy a cooling breeze from your new fan.


